As I, at this stage didn't entirely understand the PBR workflow and to some extent still don't, I found that learning substance designer would be a great step forward. Not only is it the future of procedural texturing, it forces me to learn the PBR fundamentals in the most basic way possible in a node based system.
When you really think about it, PBR texturing in Photoshop follows the exact same work methodology as in Designer, it's simply aimed more towards creating maps using many pre-made processes instead of doing each one manually within Photoshop.
It feels like you're visually programming the textures; creating a set of Photoshop commands to be carried out in the desired order to create your textures.
It took multiple weeks to understand but i'll briefly run through the basics, both good and bad, alongside the methodology so this doesn't become a wall of text;
General Methodology - The basics of what i learn't
- Use a selection of Pre-made masks and link these in to gradient nodes which in turn, maps the chosen colours to the grey scale of the original mask.
-Plugging these in to a blend node allows you to combine multiple base textures. Adding another mask to the Alpha channel allows you to blend the two base textures in relation to this mask's gradient. The blend mode can apply almost any Photoshop blending mode so it makes almost anything possible.
-Levels nodes and "Hue Lightness Saturation" nodes work identically to those found in Photoshop and can be attached/ changed at any stage.
-Transform 2D nodes function the same way as scaling an image in Photoshop.
-Tile generators allow you to tile anything plugged in or allow you to pick from some predefined patterns and allow you to customize this with hundreds of parameters.
-Maps can be converted to normal or height maps with simple "Normal conversion" nodes.
Honestly, once you take these in to consideration, Substance Designer uses the same features as Photoshop, just structured in an entirely different way.
The Benefits I Found
-Unlike Photoshop, all textures are made the tile by default, making it very easy to create a stockpile of tiling textures for any scene/asset.
-Once you have created your node graph, you can very easily change your texture in multiple ways, even to brand new materials by changing the values of a few nodes.
-If structured correctly, you can create one large graph that generates any wide range of textures you could wish for with just the click of a button.
-Texture resolutions can be changed on the fly, making it very flexible.
-Any material you make can be exported in to UE4 or substance painter to be re-used. Set some custom parameters and you have yourself an unlimited variation texture with a tiny file size.
-You can bake any map from your low poly model and normal map/ high poly model in seconds.
-The best thing of all, by using a World Space Normal map and a position map, you can remove 99% of seems from your model but we'll cover this in more detail further on down the line.
What I did, what went wrong
After a lot of practice, I created a master node graph which allows me to transition anywhere from clean metal of any colour and roughness to full body rust, with any value in between. With my vehicle being so battered in concept, this allowed me to make a lot of the primary textures within a single graph.
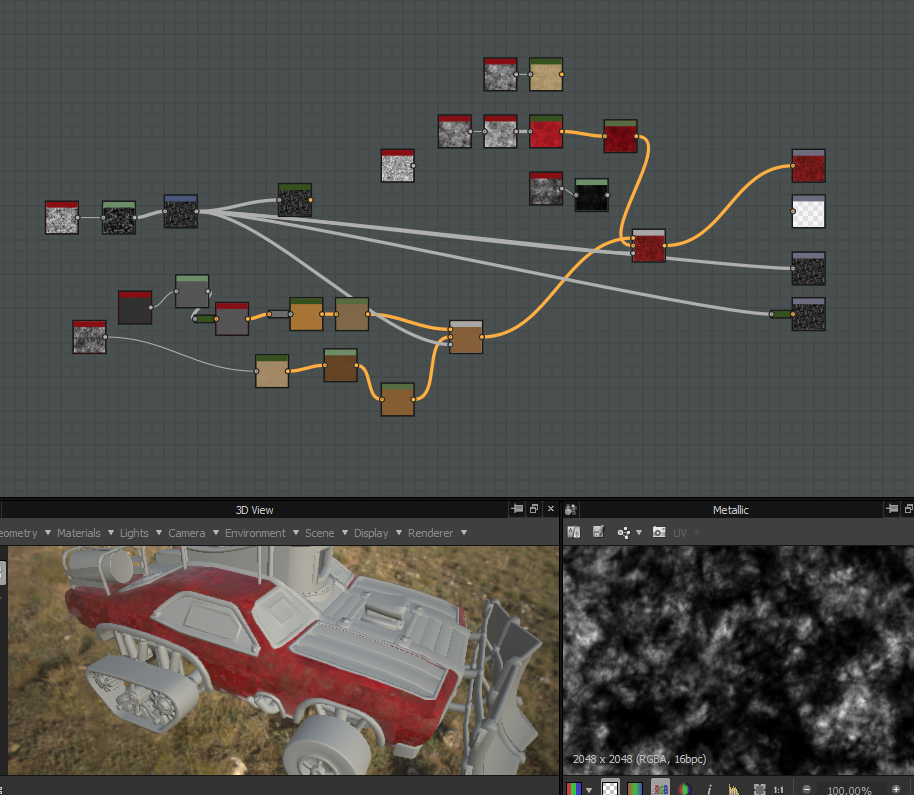
One of the failed attempts, just showing the complexity required;
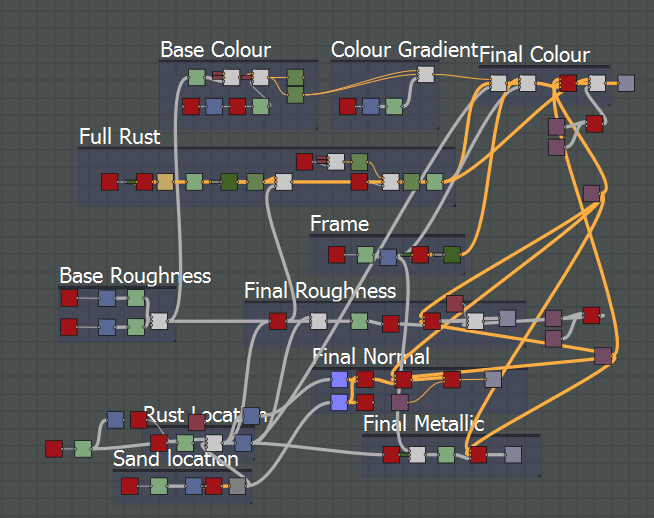
The node graph i created that does the vast majority of the heavy lifting;
Even fully annotated, the node graph is an absolute nightmare to anyone other than the original author. I found that the easiest way to learn such complex functions was through helping various people in the class. As graphs can be created in any wide number of ways, showing another person how to create their desired texture usually uncovers a multitude of new techniques so you always leave, learning just as much as you've taught.
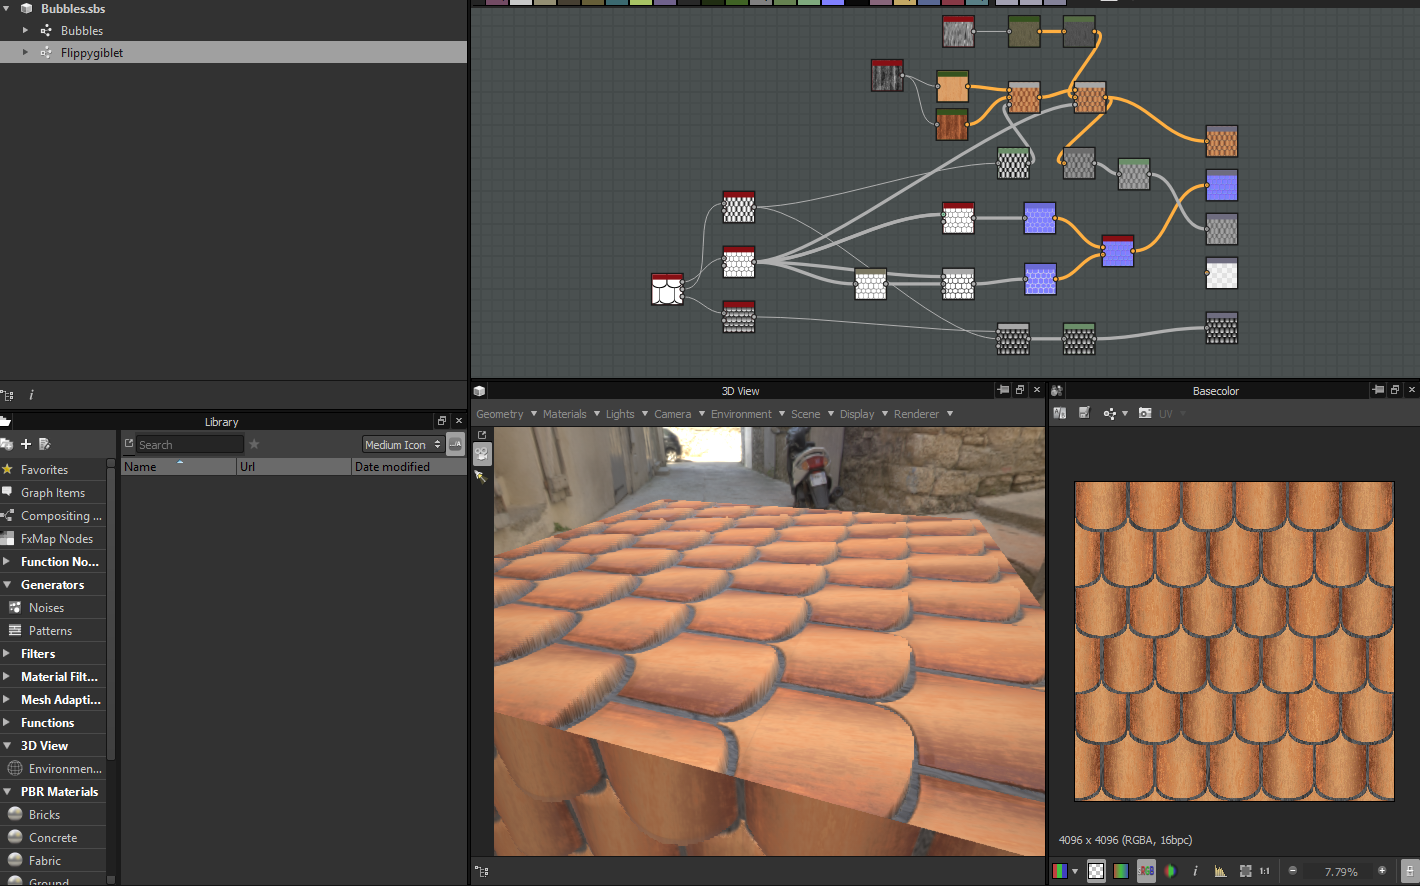
For example and to show you some of the more simplistic node graphs i created to help classmates;
Honestly it may look complicated with the height map but its just Photoshop fundamentals, displayed in a slightly odd fashion. If you want, i'll quite happy with you a full breakdown in lecture time if you're interested.
Now, for what went horribly wrong and took up multiple weeks of my time.
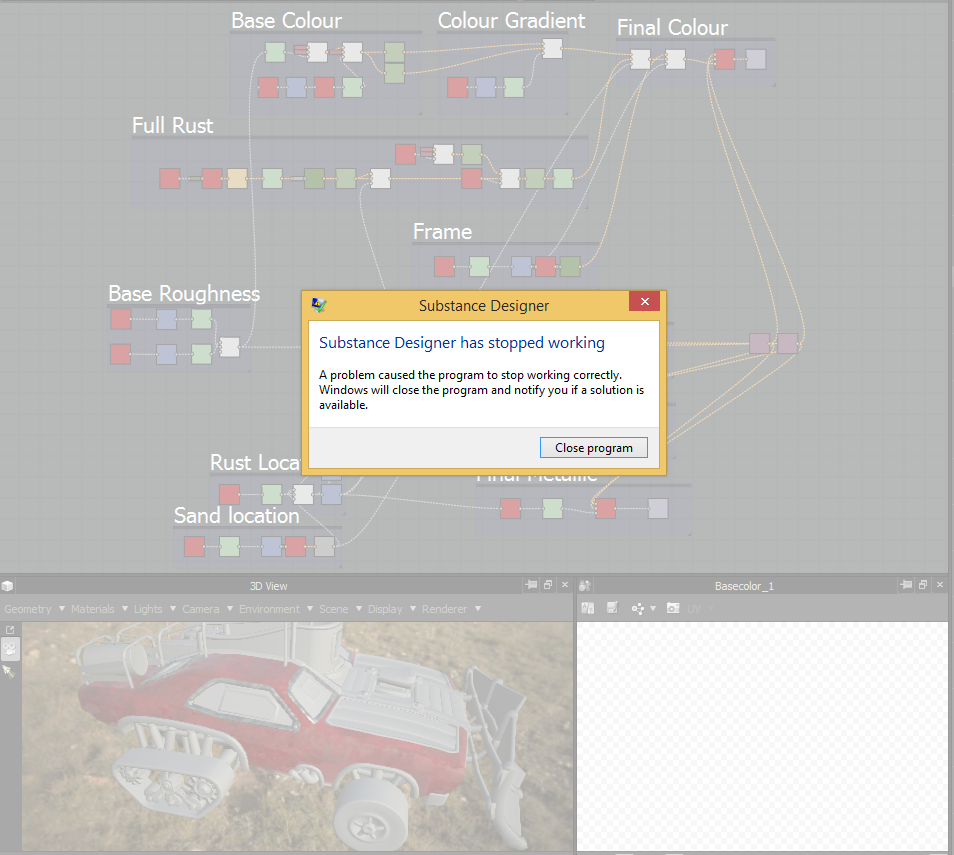
Instability. I imported the vehicle with each major area assigned to a new material. In practice, this could work fantastically, allowing me to apply different materials to different components on the fly. In reality, it made the software crash endlessly and take upwards of a minute to change between graph and apply a new texture, not to even mention the time it took to physically load the files.
I tried to bare with this for a while but as I couldn't apply enough materials, it became impossible to add the details i wanted. Using a curvature map, i could add a bit of edge wear but the placement was far from perfect.
To continue onward, I had to salvage any process I could before re-evaluating my entire methodology. In the process of learning new software, I gave myself tunnel vision and took it much further than I should have, wasted upwards of 10-15 hours.
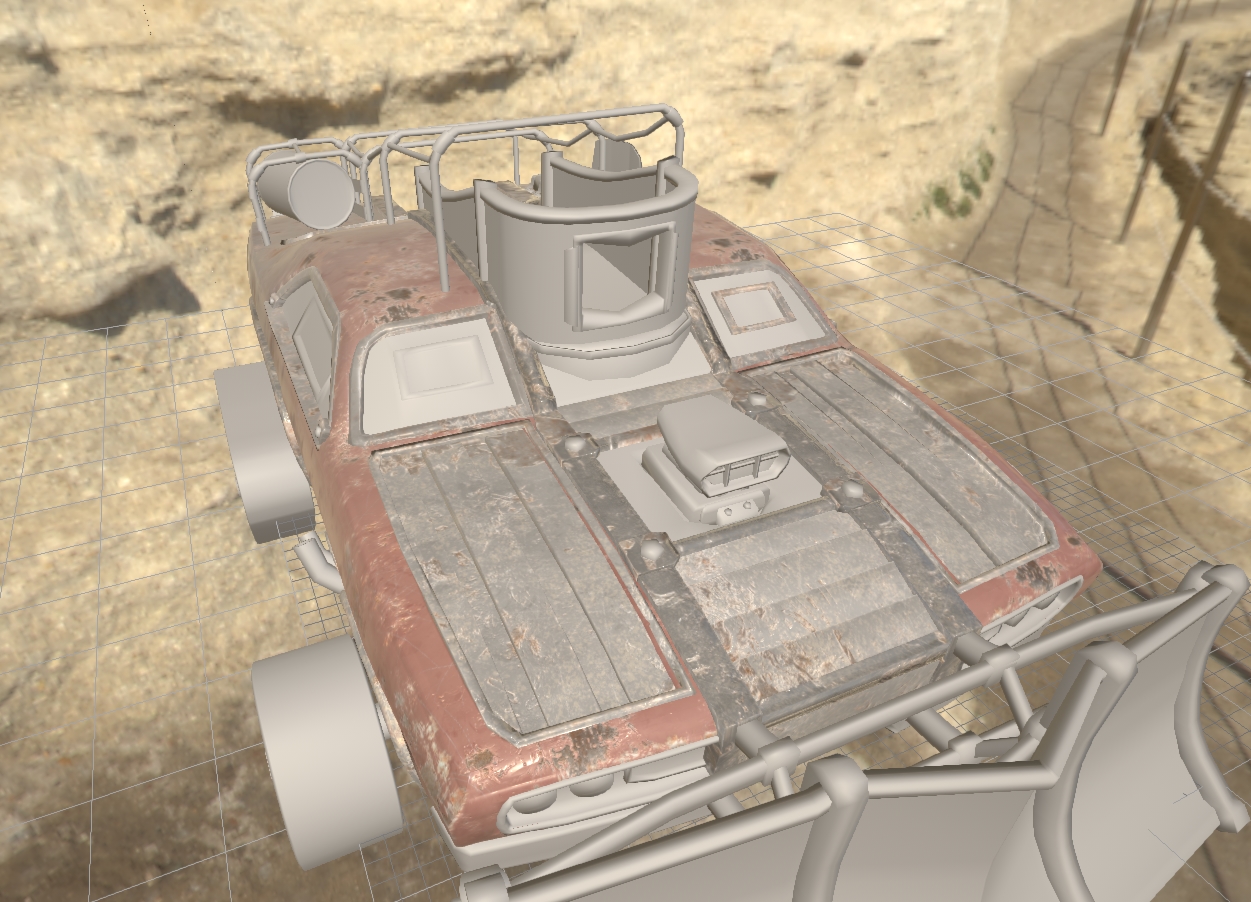
Final example for this post;
As you can see, the colours are entirely off and the rust damage has terrible placement. Fixing this in substance designer seems to be near impossible so it made me fully aware that this software package would only serve the purpose of creating the base materials.

No comments:
Post a Comment