With a huge focus on the vehicle, I wanted to make the scene as minimalist as possible so not to distract from the vehicle but as I chose the Mad Max style, it made it a far easier task. With Mad Max being set in a baron, desert wasteland, there would really be no reason to have a populated scene. The original idea was to display the vehicle on a desert road, in between a mountain side, between a highway sign and old highway barriers. This would concentrate the viewer on the vehicle's immediate location but I would still have issues with the landscape looking incredibly bland.
The Assets;
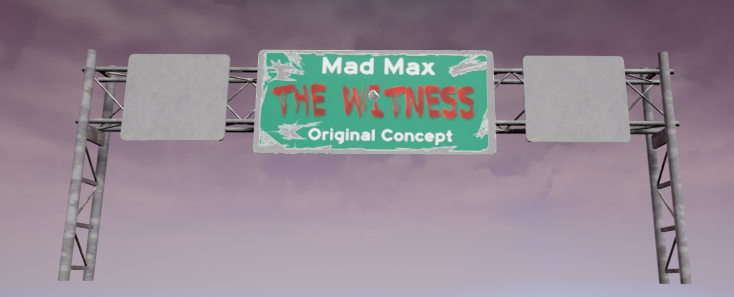
Highway Sign
This was a wonderfully simple task with many pieces of geometry easily being duplicated from one area to another for easy construction. After working on the car, this was great. At a 1,348 tri count and split in to three 512 textures, it's not all too efficient either. Texture wise, I re-purposed a few of the substance graphs i created for the car and projected the turn sign text using a deferred decal. At this stage, i had enough substance material variations to re-create my scene with very few issues.
Side Barriers and Connectors
I made the barriers as individual components as it allows me to add a lot more variations when placing within the scene. The modelling process was fairly simple as with the highway sign and texture wise, i adjusted the mask and noise levels of one of my prior substance metal materials before applying these, giving me a few steel variations and a nicely contrasting copper. The grand total tri count for all three is 601, making them fairly inefficient for what they are but with only a few copies within the scene, I cant see it ever becoming overwhelming or adversely affecting performance.
Sand and Concrete
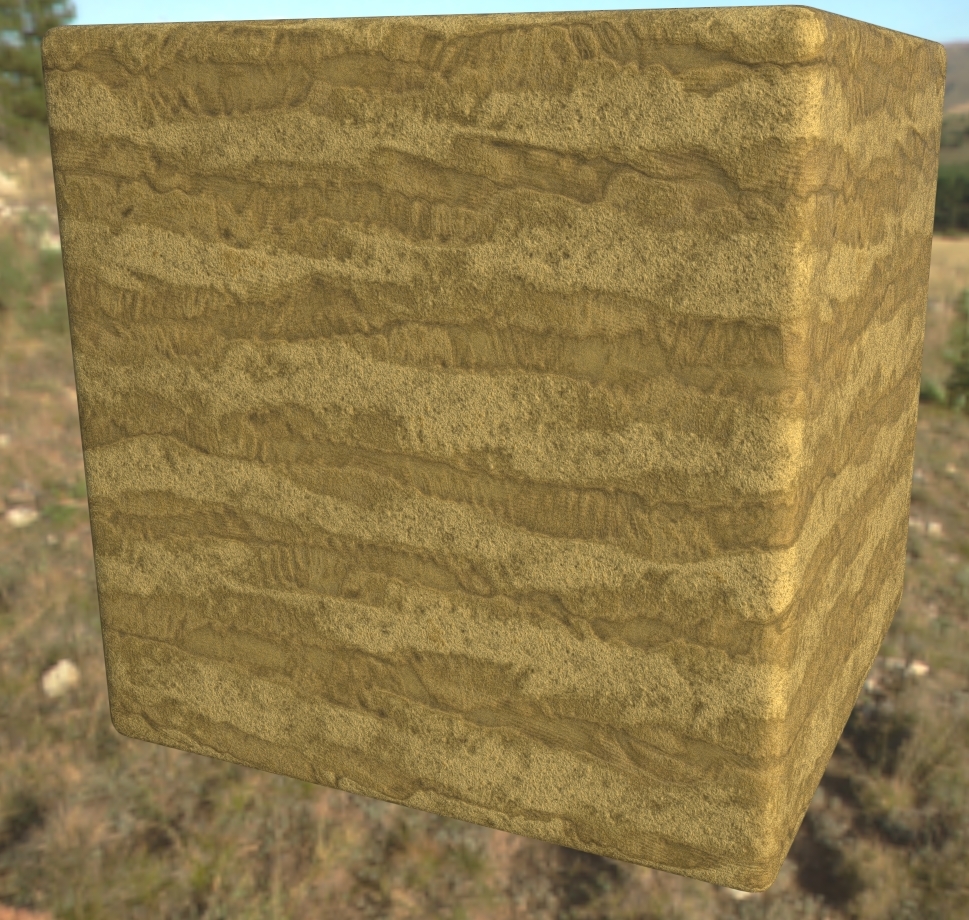
These were the only assets that really required entirely new substance graphs as I hadn't attempted to make such materials prior. Starting with the sand, I followed multiple tutorials and made a lot of it up on the spot but eventually ended up with this texture alongside a fairly nice height map;
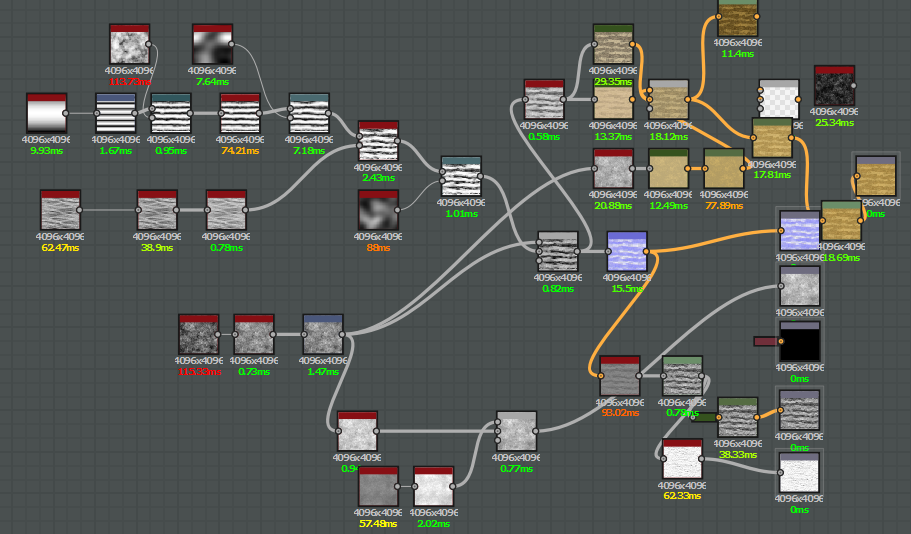
To create this, you have this frightening graph;
The main issue with this was trying to create the sand overlap although it displays better in EU4.
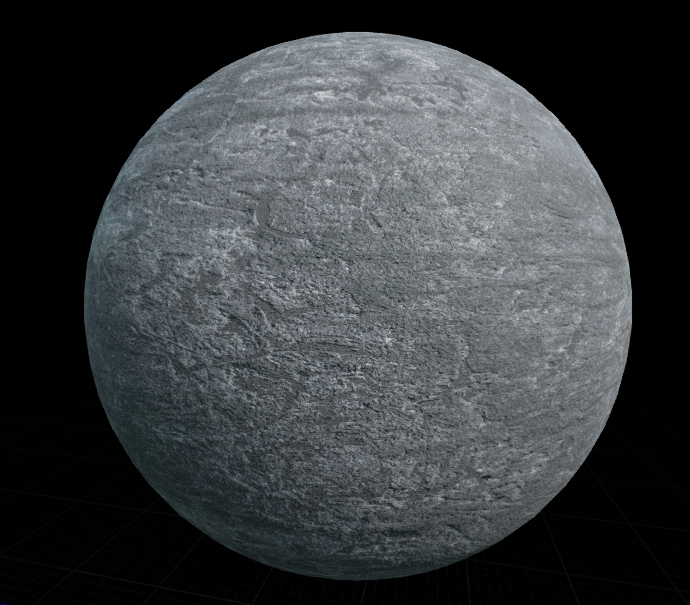
Now for the concrete texture. In the process of crashing Substance Designer on a daily basis, i managed to get this;
This didn't require a tutorial, just a lot of luck and trial and error trying to create a nice end result. I would show the substance graph but im having issues locating it.
I could just apply the sand material to the UE4 landscape but in the process found that it made it impossible to display the height map and this is what gave the sand the vast majority of its character. I believe this is because the landscape is based on a height map by default for its height/ depth. This was a little disappointing but as I could still use it for vertex painting on the road itself, it wasn't a complete loss.
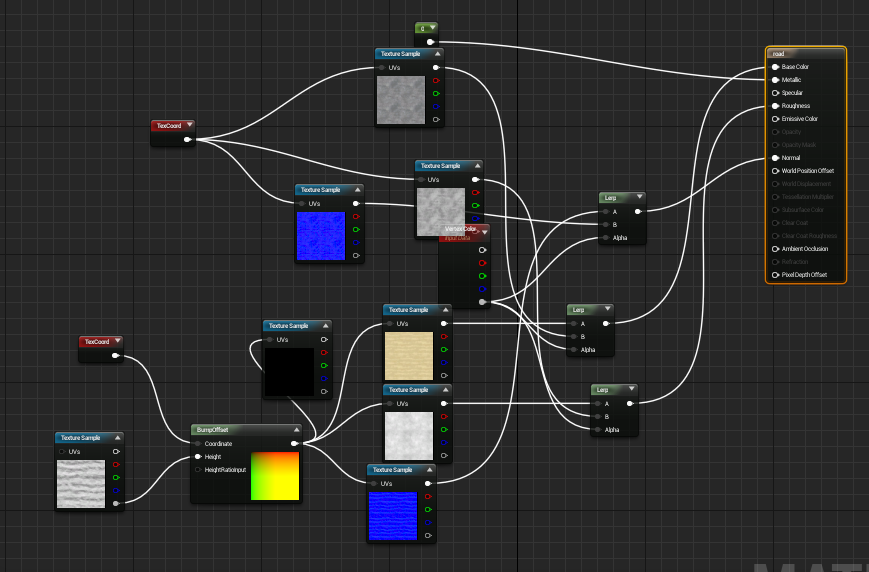
The node graph required to vertex paint the height mapped sand texture on to the concrete road;
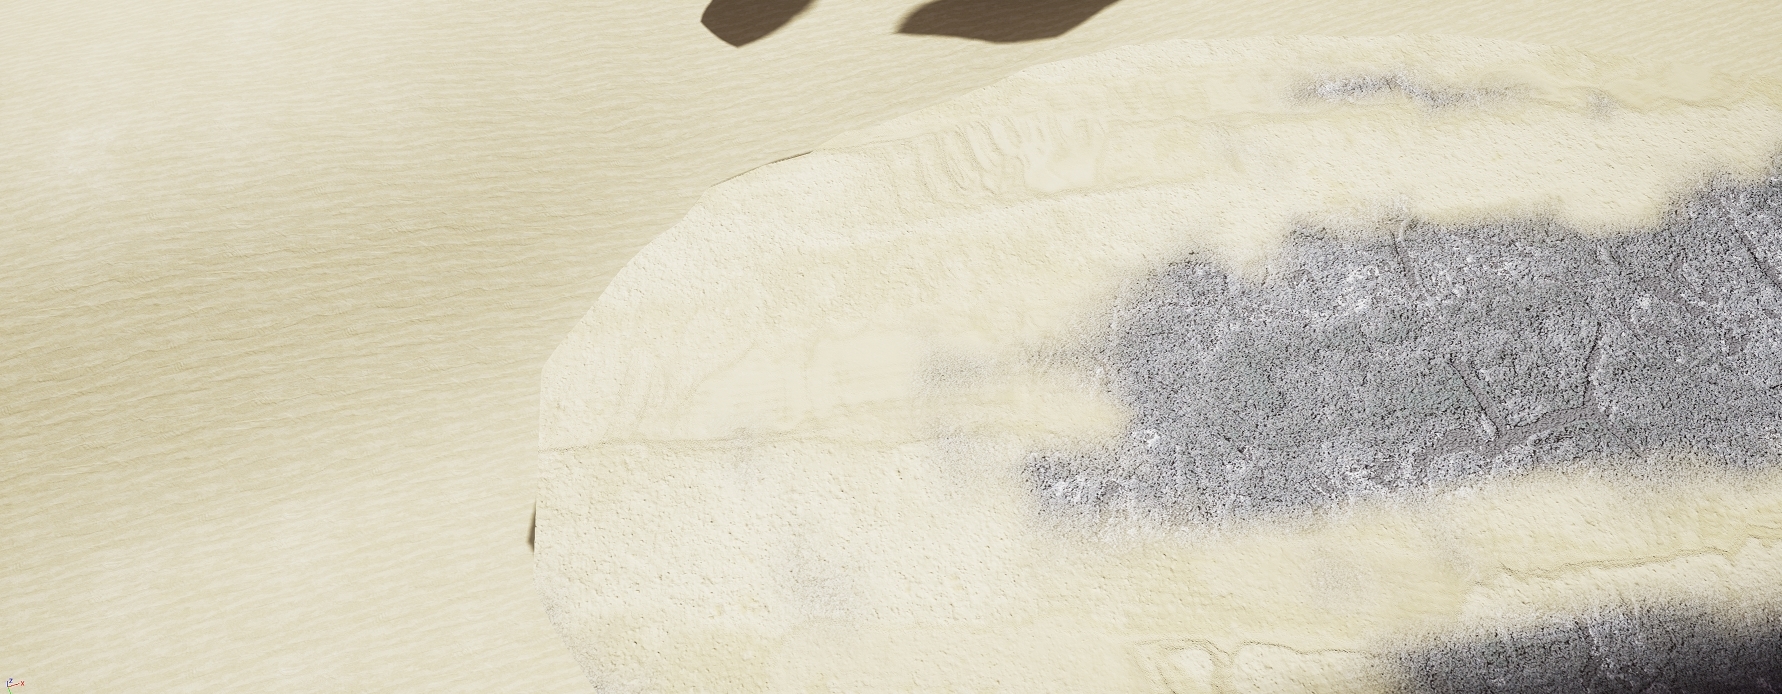
The sand I painted on the concrete road showed all its height mapped glory and has the exact effect I was looking for although this brings another problem that I don't believe is avoidable unless I re-create the immediate landscape as a physical mesh;
As you can see, there is a very obvious border between the landscape sand and the road sand. I can probably avoid this to some extent by focusing the matinee cameras only on the height mapped sand or attempt to use some form of emitter set-up such as a sandstorm to drown out the texture seems in a reasonable fashion.

No comments:
Post a Comment