With both the low and high poly models fully completed, I could bake both an AO and Normal map. Originally the plan was to create a copy of both the high and low poly, delete every duplicate on both and then export these as "objectLP" and "objectHP" whilst centered on the grid. This was i could load each individual object in to Xnormals to ensure a perfect normal map bake. The only issue with this process is time management.
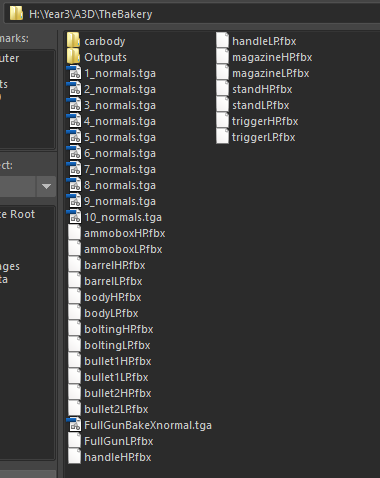
You're forced to create huge file structures and with such a huge mass of objects, it gets very hard to think of unique and recognizable names for each pair. With every piece individually baked out and then saved back in to another file structure; each map needs to be dragged in to Photoshop, centered and set to Multiply before merging. As you can tell from that brief over-view, its an incredibly long and grueling task with multiple areas to very easily go wrong.
Just look at what is maybe 10% of the file structure;
Maya 2016 had made incredible steps forward with its baking tools, taking over 80% of the prior required time entirely out. Baking within Maya follows the same steps up until the export. By exploding the entire model with high poly components on top of low poly components, the whole low poly car could be combined as one object and the high poly combined as another. With the low poly as the target mesh and the source mesh set to the high poly, the entire car could be baked out all in one go. Due to the huge tri count after converting the vehicle from smooth mesh preview to polygon, I had to do this in three sections but it still made the process infinitely easier. It almost felt like cheating.
To make life easier, I made a short video on the Maya 2016 baking process and why I love it so much;
https://www.youtube.com/watch?v=co9utaEXpyQ
The only issue I found was that Maya required me to delete all overlapping faces before baking and after multiple crashes from the sheer amount of objects, I managed to corrupt Hypershader. To this day, it's still broken and i cannot apply textures in my Maya scene.
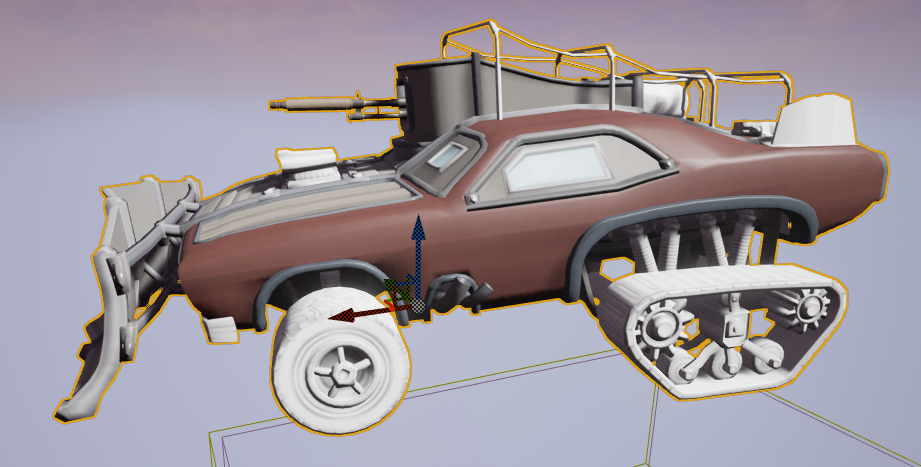
An example of the partially exploded vehicle before baking;
First Texturing Pass
Texturing was by far my weakest point so this required
endless trial and error until I got a decent end result.
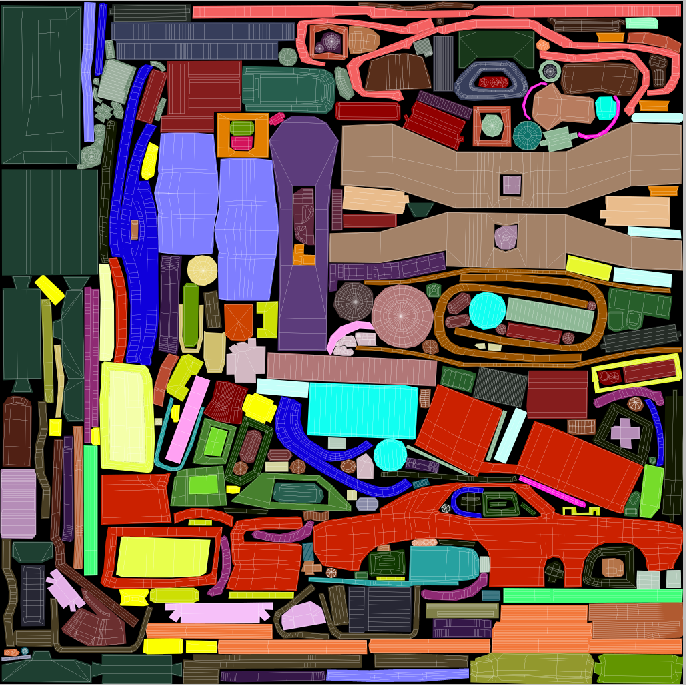
To start with, I took the UV snapshot of the vehicle before
loading this in to Photoshop as a 4k texture. Looking back and forth between
the Maya file, I selected each main component and created a colour map within
Photoshop. This was an incredibly long process due to the complexity of the
mesh but after multiple hours, I had every key different material/ component
set to a unique colour and made it very easy to select components on the fly
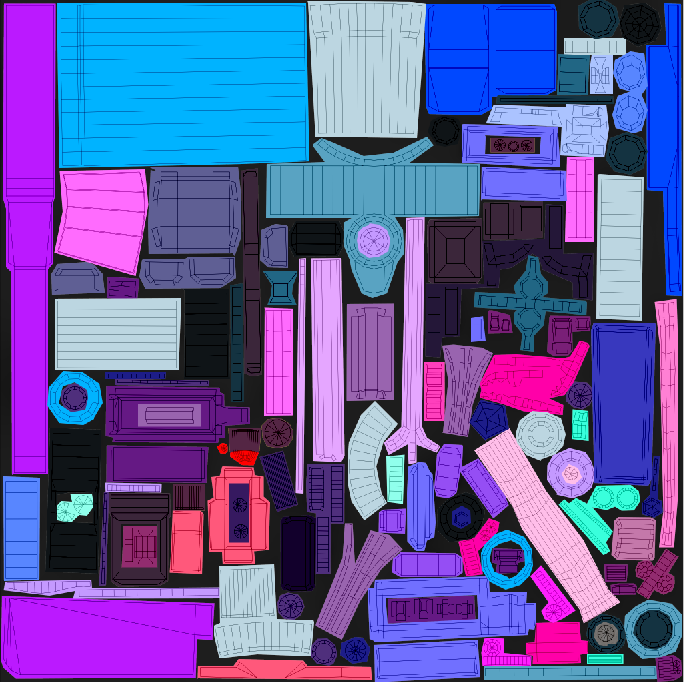
with the marque tool for easy texturing. I did this with both the gun and turret before carrying on forwards as colour maps could be used for almost any texturing process. It created a very nice starting point.
Gun;
Vehicle;
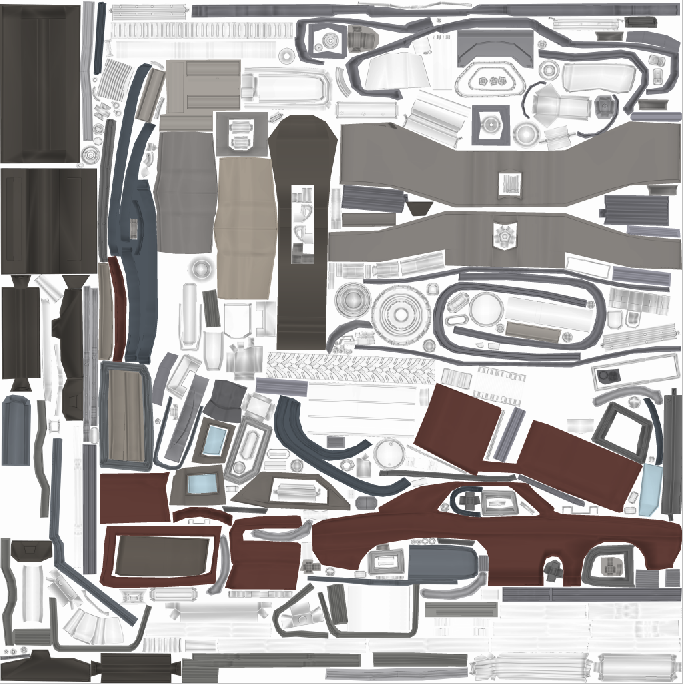
As this is an original concept, finding fitting colours for each segment was a complete nightmare. With the colour maps completed I created a new layer and tried multiple base colours until i found something fitting. To add some slight variation, i overlayed an ambient occlusion map on roughly 20% opacity. I know this is against the fundamentals of PBR but having it so low, it simply made some colour variation, preventing the texture from looking too flat.
I found that colour values between browns, blues and reds allowed for a very nice variation without making the vehicle seem unfitting for the mad-max style. I tried to stay as far away from greyscale as possible, always using a slight blue or brown colour contrast in even the dullest of parts.
Part way through creating these textures, I realized that it would be a much more effective use of my time to move to another software suite, making the most out of A3D by learning future PBR texturing methods. The only worry with this is that I would have to create an entirely new texturing workflow consisting of constant trial and error until not only I arrive at a suitable quality, but in an easily repeatable process that could be applied to any other asset within a decent time frame.
With basic colours worked out, I could use it for reference up until the finished project. It may seem like a fairly large time sink but having the modelling completed by week 4 provides me with almost two months to develop a new workflow and further increase my understanding of PBR.

No comments:
Post a Comment