With the vast majority of the scene finalized, there were only a few areas left to touch on. This mainly came down to the sandstorm and with zero documentation, it was a giant game of trial and error.
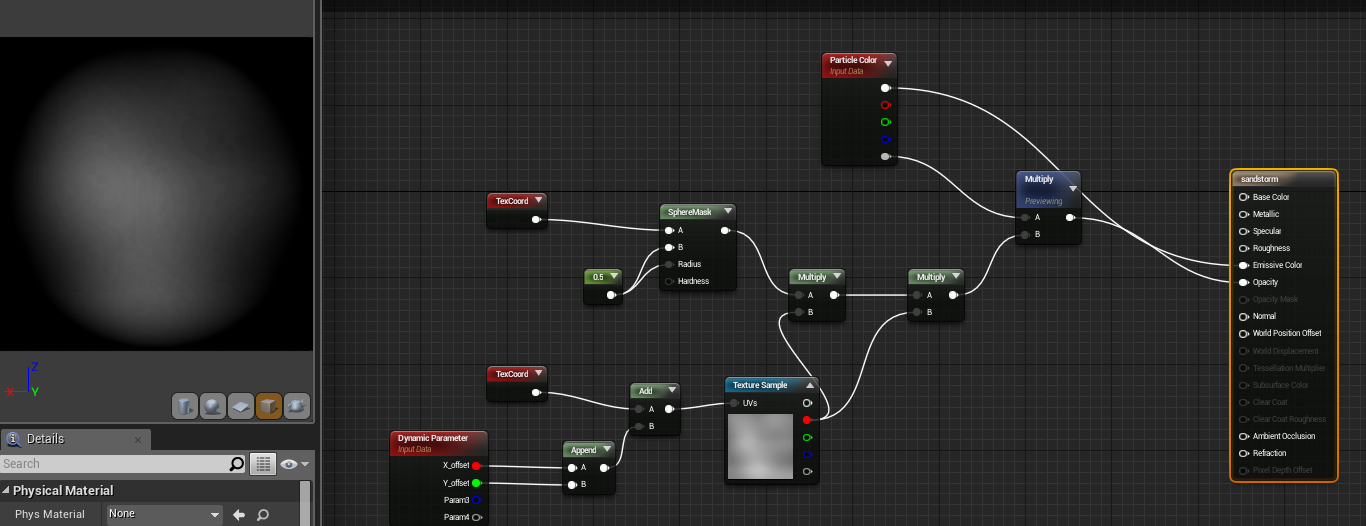
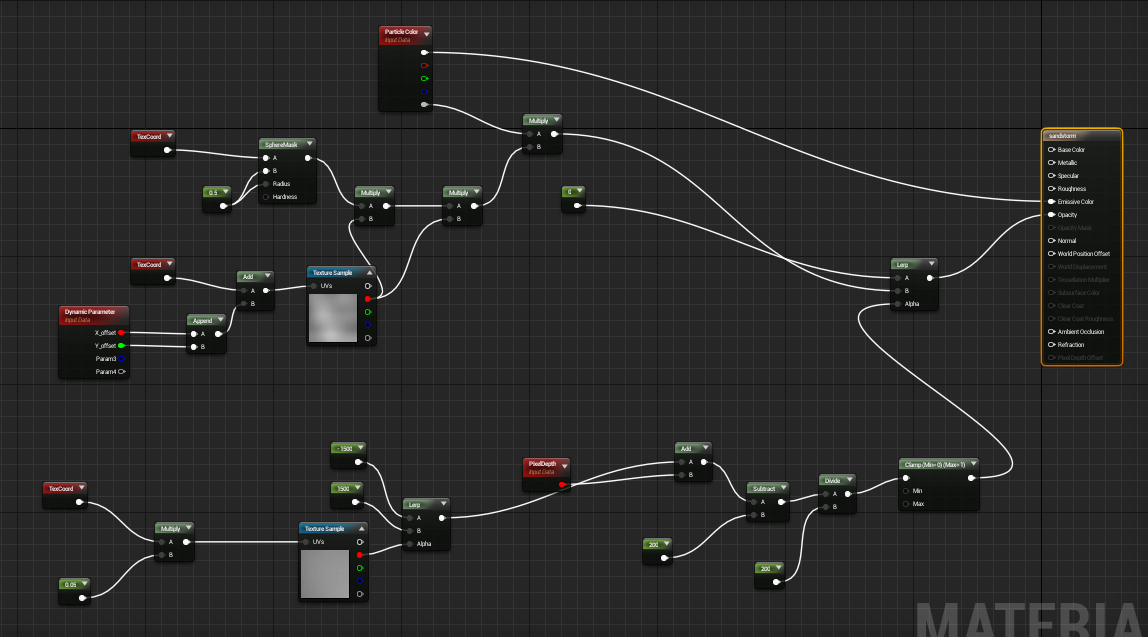
I found a few tutorials for snow which gave me the basic material set-up for an emitter material as you can see below but this was still only a tiny step towards completing the project.
It creates a basic black and white sphere through the sphere mask but as a sandstorm in not a perfect circle or just one sole gradient, i looked in to the smoke default material in a new project file. Through this and a German Youtube tutorial on creating smoke puffs, i worked out how to use a smoke mask and multiply this with the original sphere to create a more distorted shape.
For the physical sandstorm emitter I played around wit the options until i found something reasonable. Although this entire process took upwards of 7-8 hours due to my entire lack of experience;
Firstly, i set the emitter to "GPU sprites" otherwise it was impossible to render more than a few hundred at a time and then selected the sandstorm material i created. It seemed to be very important not to plug anything in to the base, metallic, specular or roughness channels of the material otherwise it either crashed UE4 or fail to display the particles. With the blend mode set to "Translucent", only plug nodes in to the Emissive colour channel and opacity. This does highly limit your colour variation though.
Secondly, I set the spawn rate to 100,000 as this provided 100% coverage like a real sandstorm. To ensure that the particles lasted long enough to cover a wide area of landscape, i set the minimum lifetime to 10 seconds and the maximum to 14.
The next step was to change the size and velocity. These were both trial and error but thankfully the UE4 particle editor runs fairly smoothly when changing values. All the Max size values for XYZ worked best at 500 whilst changing them all to 200 for the minimum values. The velocity values are a little more varied so i'll show them below;
To add a little more variation between particles, I used a "Initial Rotation" variable, setting the minimum to 0 and maximum to 1 which in turn gives the particles a small spin, helping to make them look more unique.
The final options were "Initial Location" and the "Color over Life" editor. Initial location simply specified the locations that it can spawn/ span across. As a sandstorm covers an entirely valley, this was a very awkward one to set-up and can always be changed on the fly. The options i found best are displayed below;
The colour is chosen in probably one of the weirdest ways imaginable. You have to move points on the colour selection graph until you have a value that you're happy with. I wont even try to explain my choice here as it was all random until i got a nice orange sand.
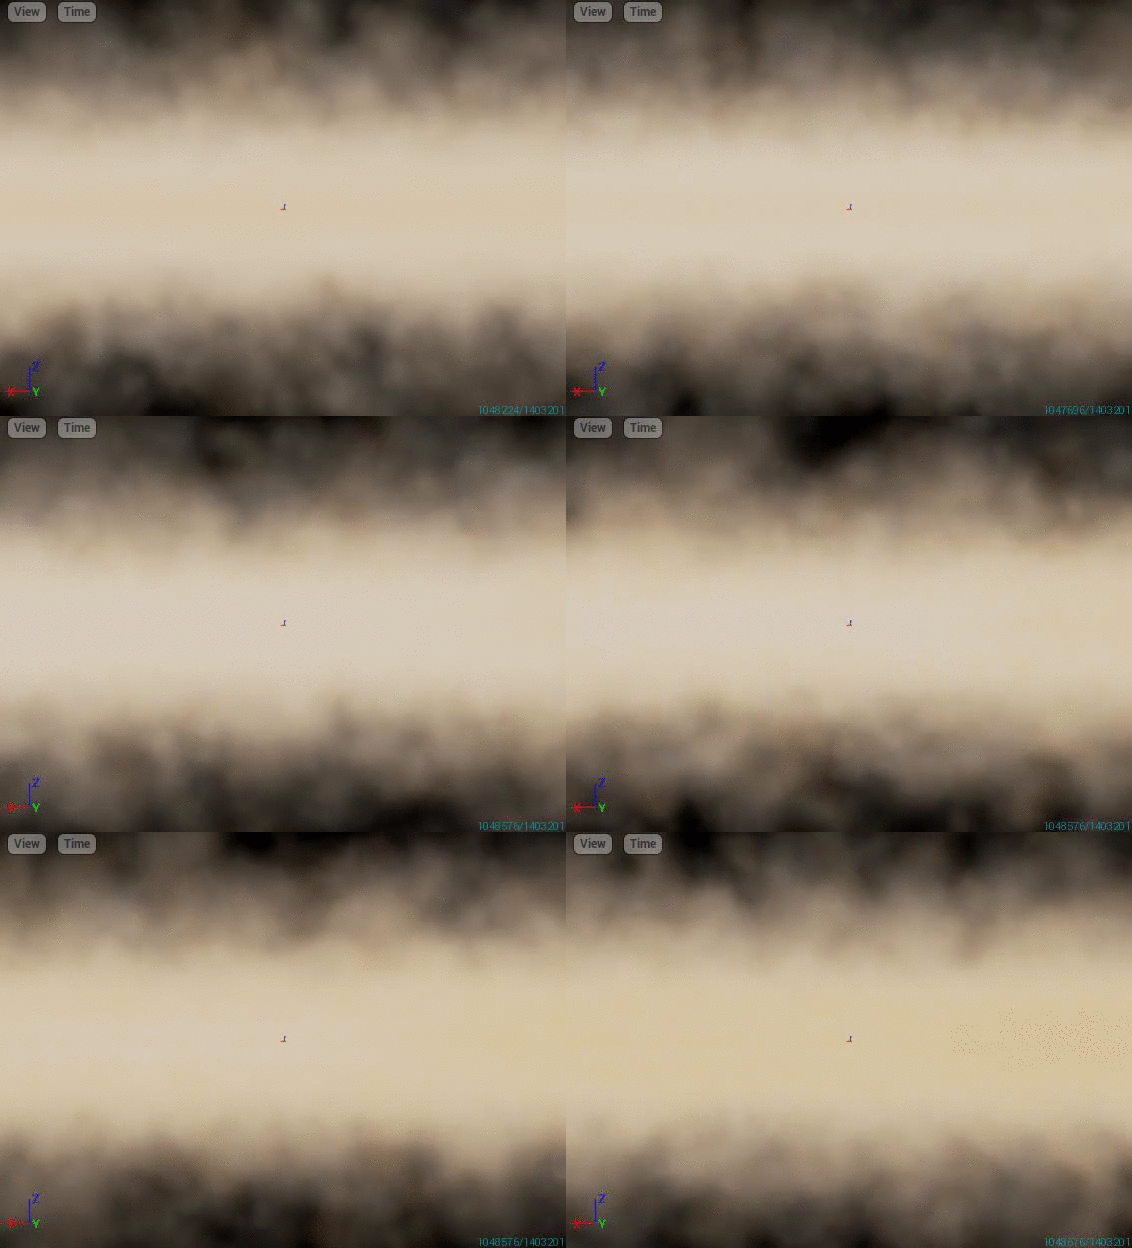
With all this done, I was left with a fairly nice effect that could span over my entire desert environment. Hopefully Gifs work on blogger;
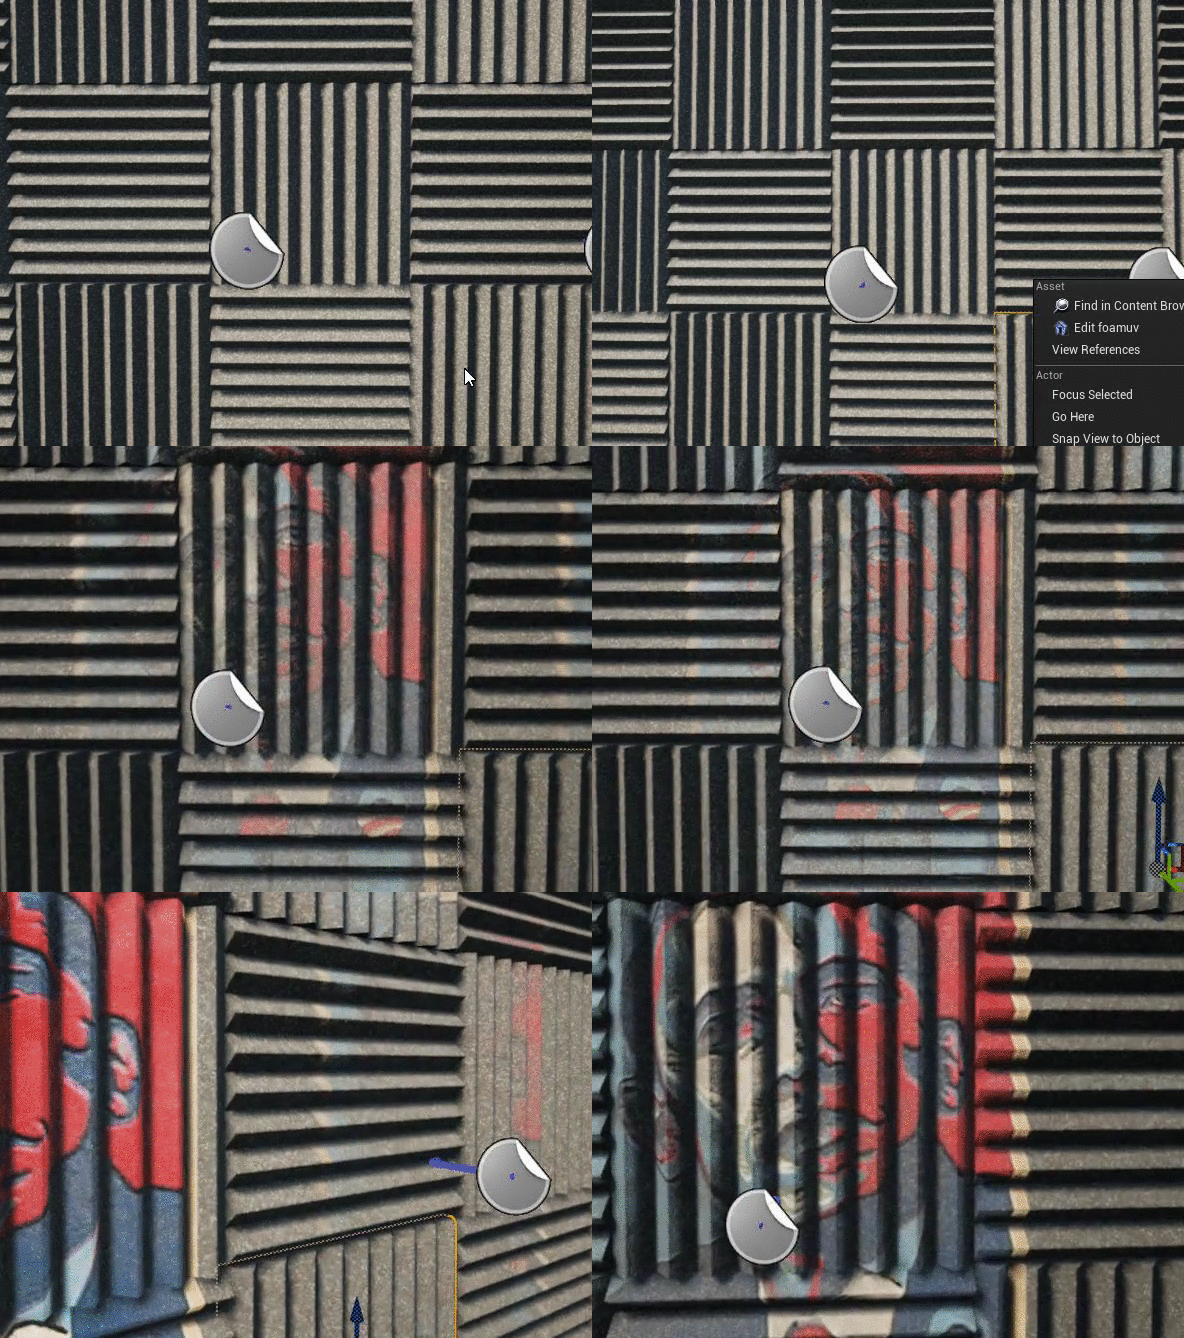
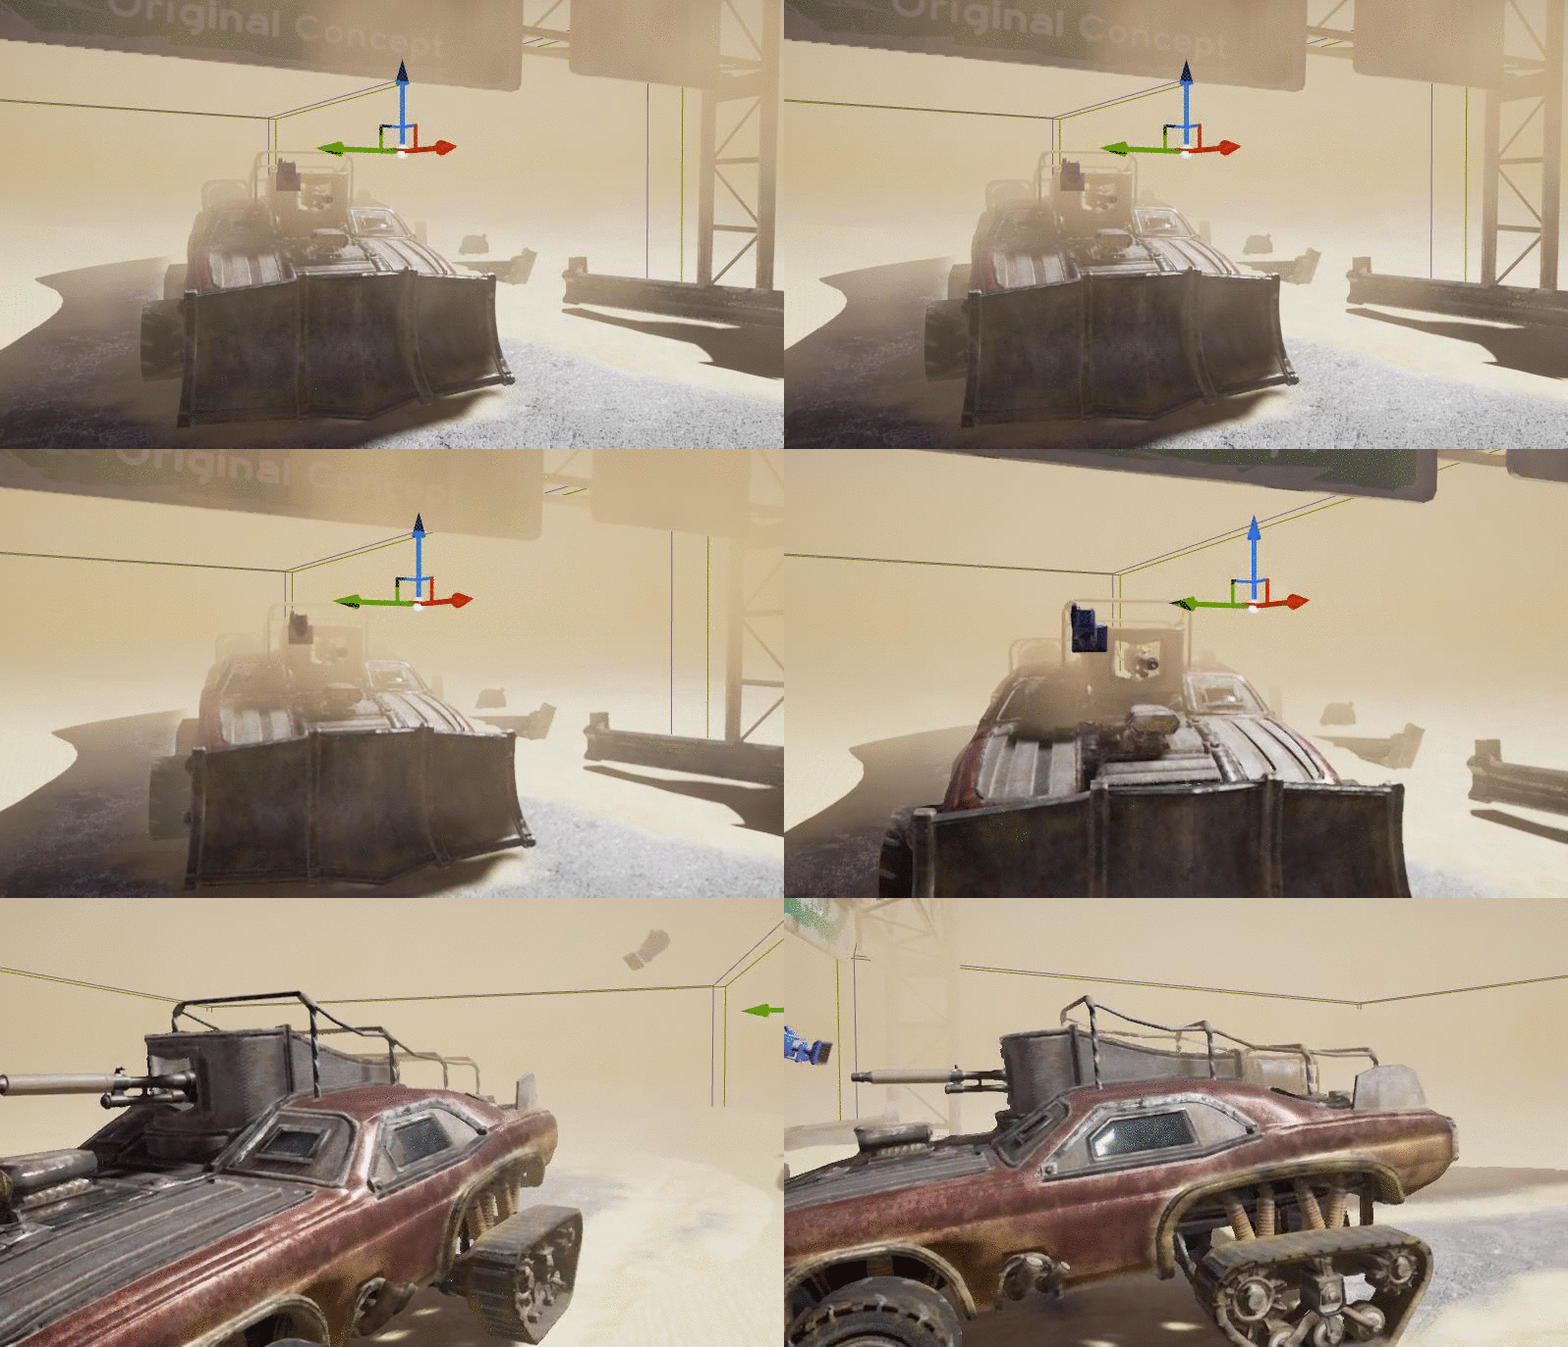
With this finalized, the last issue would be view distance but after playing with a few blueprint and node graph techniques over summer, i re-found my distance based opacity set-up that i used to well... Just look at the Gifs below. The easiest way to put it is that I learn complex methods best through the weirdest methods;
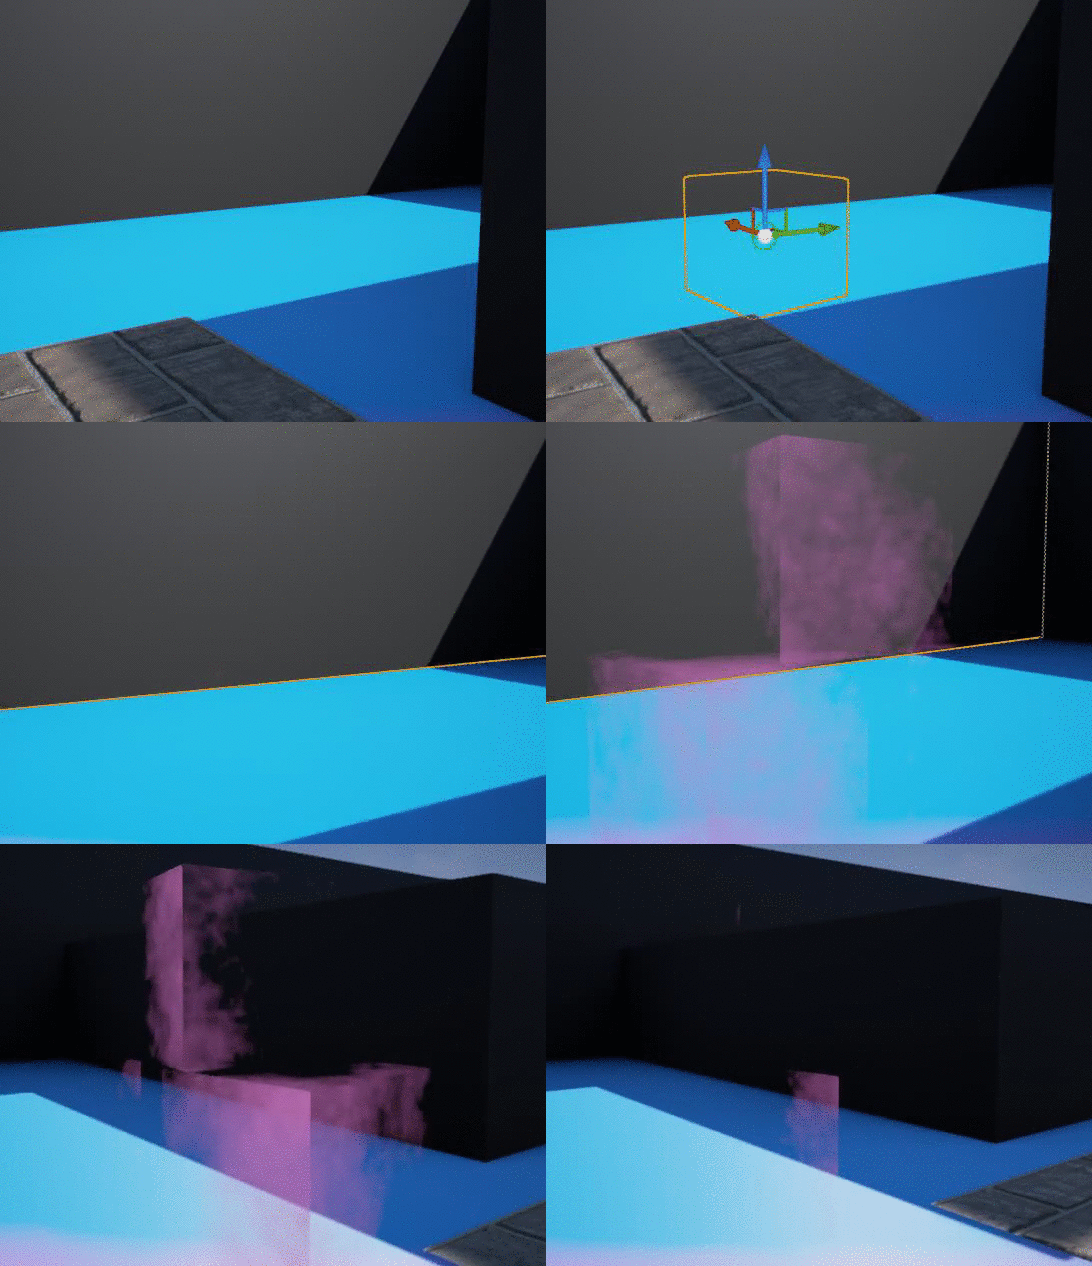
...and when put in to practise on an object, only using a LERP value for the opacity;
Anyway... With this method, I can simply copy and paste my graph set-up to any material I make and attach them togather with a LERP to control opacity based on distance. Honestly its such a wierd way of doing it when you see the graph that there should be no justification for it to work. We'll just call it the lucky accident.
The graph attached to the preexisting sandstorm material;
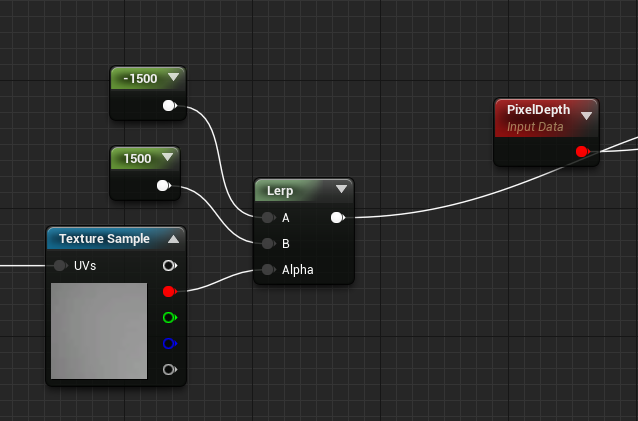
View distance has be controlled by either increasing or decreasing the below two values. It'll use the attached alpha mask for the transition so there are a lot of possibilities to play with. Just ensure the two values are kept as polar opposites;
I find that -1500 and 1500 work the best for my scene as you'll see the another Gif below;
The final stage of the sandstorm was to break up the single colour value that just looked far too fake. By duplicating the particle effect and material, i adjusted the colour to be a darker orange, placed this slightly below the original sandstorm emitter and ti created a nice orange contrast to highly the ground below the original sandstorm. This practically completes it. I attempted to use a height map to bring our depth in the tires but I couldn't fire this out without deforming the entire vehicle, lowering the overall quality.
With the sandstorm complete, there was one one more thing that needed to change. The starting point seemed very dull, consisting of a piece of metal with my name. After speaking to my lecturer, we found that it wasn't very necessary nor was it interesting enough to be a focus point for the camera transitions.
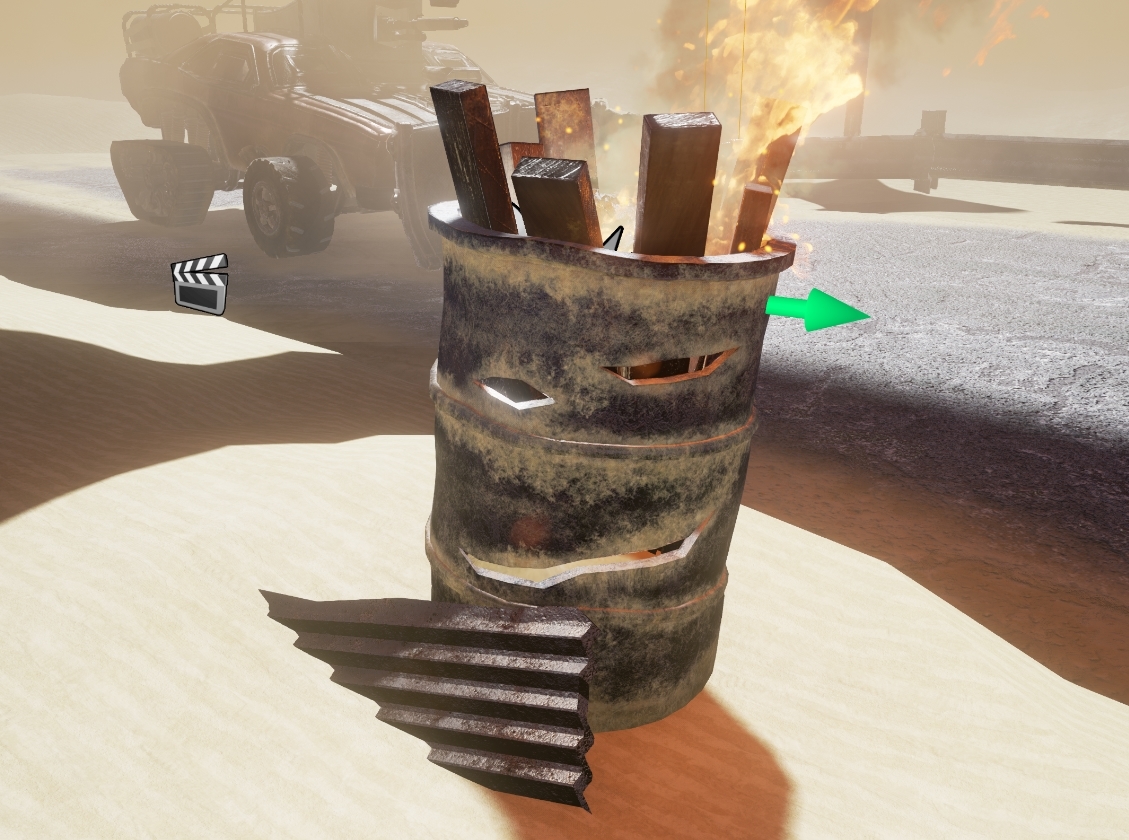
Being a Mad Max environment, what would be better than a flaming barrel to break up the monotony? On top of this, i could lean the old corrugated steel name tag against it to add a little more depth.
This is the result I ended up with, following the same Substance Designer seam-free bases, Photoshop masks and then finally. Substance Designer Touch-ups.
Fire seemed like an incredibly complicated effect to create but by taking the original fire emitter from the defaut scene and heavily modifying it, I managed to make a nice barrel flame with both the flame and smoke following the direction of the sandstorm.
I would have liked to make every single stage of this from nothing but I would be looking at upwards of a week of work for such a tiny task.
And the final point in this post. A little Easter Egg may become common across many of the matinee reals once you hit the marking stage... It's winter, remember to stay Toasty.


No comments:
Post a Comment