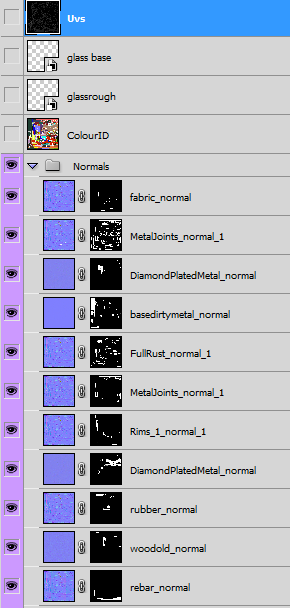
With the last method failing, I watched multiple vehicle/ weapon texturing tutorials on Youtube and it gave me an Idea. Using what i learn't from Substance Designer, I could import base maps i create from designer in to photoshop, assign these to black masks and use the prior made colour map to select areas that require specific textures, switch to the masked base texture and simply fill the space in white. If done correctly, I could texture the entire vehicle by simply painting white on each required material layer, basically using Photoshop as a primitive Substance Designer.
The main goal with this Photoshop set-up was to make the texturing process as automated as possible whilst also keeping it as nondestructive as possible. One down side to this was the huge file sizes but it was a worthwhile trade-off.
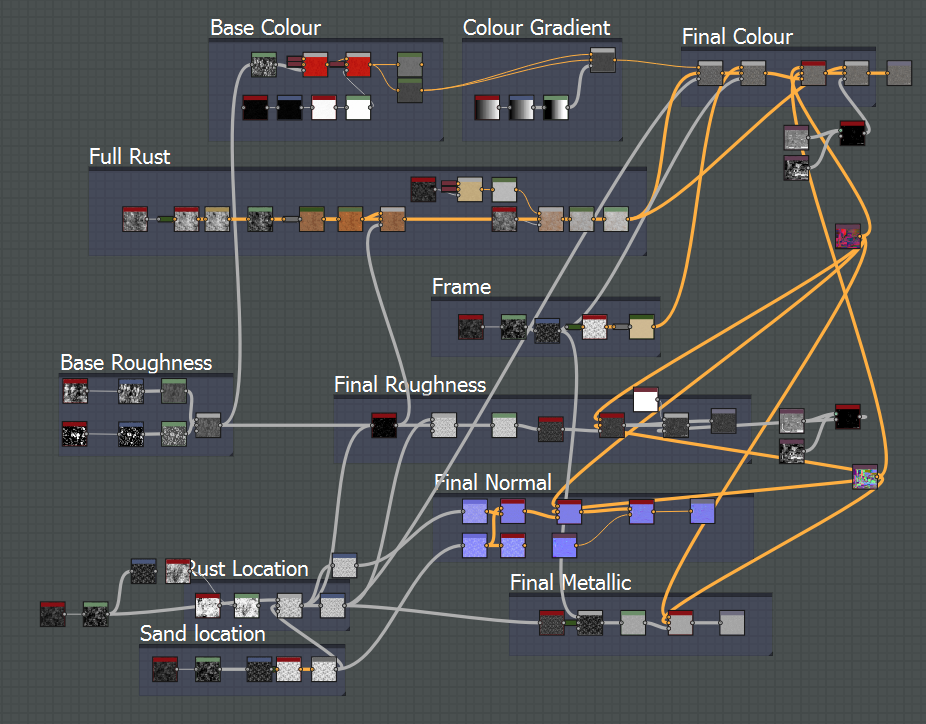
Working with only a single graph at once in designer reduced its RAM usage considerably, making the software far more responsive which in turn solved the key issue. On top of this, I could slightly edit then re-use my old master-graph for most of the texture imports.
Once again, the graph is horribly complex at first glance but i'll happily explain it in lecture time if you're interested. It basically allows me to make any variation of metal, painted metal, rust and rusted metal by simply altering a few values.
I took this a step further though and by using a position map and a world space normal map baked within the software from my low poly model and normal map, i was able to make any texture thrown through it entirely tillable. It has slight issues making odd, pipe like geometry entirely seamless but that seems like its only downfall to date. This was all made possible by the "Tri-Planar" node new in substance designer 5. It is quite literally magic.
There was a major problem from the start though with this process. I found through extensive trial and error that the world space normal and position maps had to be baked as PNGs and you must also manually change their format from 8bit to 16bit otherwise the seamless texture will be displayed as a chalky blur. It may have taken a few weeks of trial and error until I stumbled across a fix but didn't jeopardize the project.
I feel like the discovery of tools and techniques like this are revolutionary for game art. No-longer do you need to cleverly hide seams, you can just outright remove them.
As a test, can you see any seams in the above render? With any other method other than obsession texture off-setting, it would not have been possible to remove them and alongside that, it wouldn't have been possible in the slightest to remove them automatically.
By plugging my texture graphs in to the tri-planar nodes, i could convert any tiling texture in to an entirely seamless texture although this comes with a downfall. As it maps the texture to your geometry position, you cannot re-use the same texture on another model. Once again a very worthy trade off though.
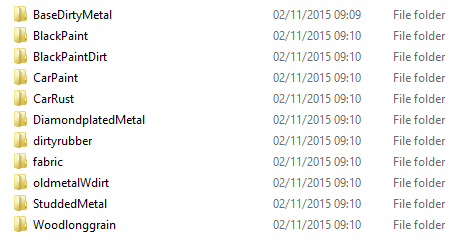
For the vehicle, i exported every texture seamless, leaving me with 11 separate materials to choose between with four maps in each. Of course this made my photoshop document rather awkward to navigate eventually but with naming conventions and a decent folder structure, it never slowed down the texturing process unlike every method I used over the past two years.
The mass of folders;
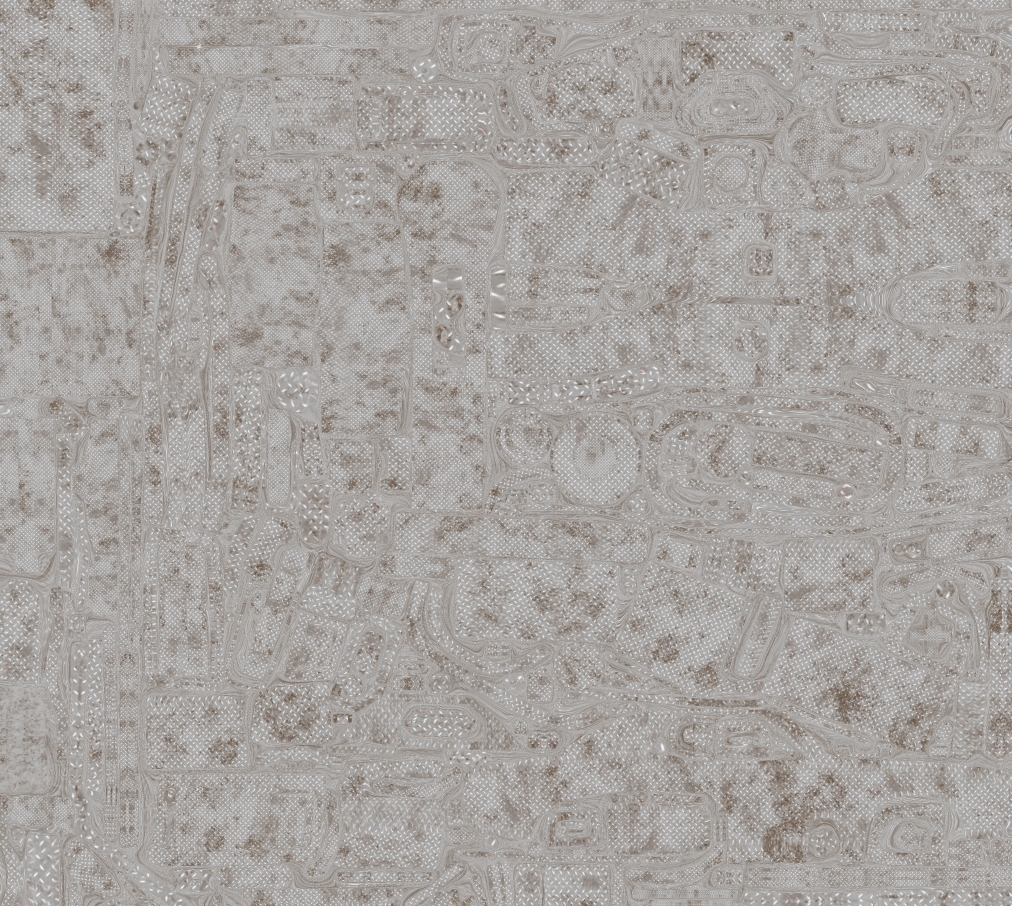
An example of what it does to the textures that are fed through the tri-planar node;
If you look carefully, you can how the tiling texture swirls round the UVs until it hits the correct edge. On top of this, it scales the texture perfectly across each area for perfect consistency. One downfall is that texture resolution can be lost due to Substance Designer trying to find a mid-ground between texture scale but as substance designer adapts to the resolution of every node and can be changed on the spot, it fixed any possible pixelation before exporting.
These textures were not perfect though but by binding Photoshop effects such as levels and HLS once again to masks, on top of areas that needed changing in the Photoshop document, I could and still can if I want, go back and adjust roughness and colour values on the fly if they don't display correctly in Unreal Engine 4.
Overall, once we take away the endless number of issues and learning experiences, it took almost the same time as texturing methods I was already comfortable with to create what i deam as a much better end result and in the process, taught me the principles of PBR. Re-doing this process, i believe i can cut that time in half whilst improving the quality even further although there are still grey areas within my new texturing methodology that i'll cover in the next update, mainly relating to colour consistency between Substance, UE4 and a major issue with the way Substance Designer processes Metalness maps which confused me considerably.


No comments:
Post a Comment