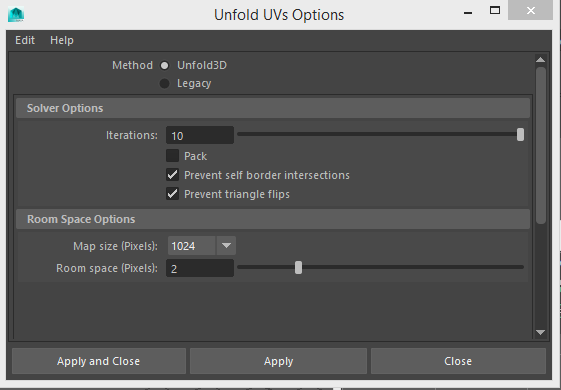
The Uv'ing process was quite awkward. In Maya 2015, i would almost exclusively use the unfold 3D tools, allowing me to simply select the areas of the mesh that require seems before selecting the unfold 3D tool to project what would be near a complete UV. For any areas that caused me issues, I could use the old planar projection method or unitize/ sew the edges. This is especially useful on cylindrical objects that would otherwise would take an incredibly long time to UV.
Using Maya 2016, this process took far longer than it should have originally. The new UV tools seem to be incredibly hit or miss; distorting the unfolded UV's beyond recognition when attempting to UV within the university labs yet unfold some objects perfectly once I follow the exact same steps at home. From this, i had to avoid lab computers and UV exclusively at home.
After much trial and error, i found that the problem could be brought down to two different areas;
1. Maya 2016 can disable the 3D unfold plugin between software sessions, in some situations even disabling it mid-Uving. This can be re-enabled in the plug-in manager but seems like quite an oversight by Autodesk. With this disabled, the software reverts to the legacy unfold method whilst is entirely useless in comparison to the newer iterations.
2. Maya 2016 struggles unfolding multiple combined meshes. This is why I found that the UV tools worked best when i became quite dubious of them as this mindset made me UV only tiny sections at once. Simply UV single meshes or duplicated meshes at a time seems to entirely fix this for me but I have seen others attempt this and the UV'ing process still fail.
With 2015, any uneven UVs could be mostly fixed with the secondary "unfold UV tool". You simply needed to select the faces that were un-even, select this tool and drag your mouse to the side. In Maya 2016 this tool has been replaced by a paint brush that doesn't seem very effective in the slightly. All it does it adjust the UV scale, forcing the other UVs to increase in size too, repeating this process until you are left with nothing beyond a larger version of your original uvs.
There may be a trick to this but i found the best option to be to entirely avoid the basic tools and move straight on to bonus tools. These UV tools seem to work as an improvement over the 2015 tools, working in roughly the same way except for a few bugs; mainly if you attempt to UV an object using bonus tools and select off it, i found that it made that object impossible to UV using this method. A workaround though was to duplicate any object i did this to, uv the duplication and delete the old one.
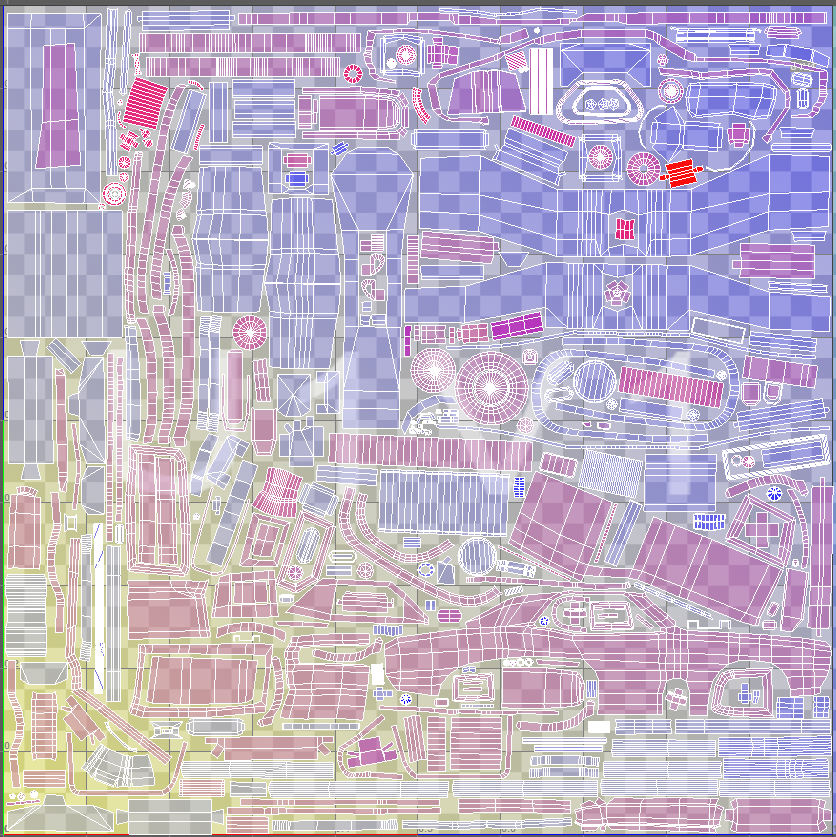
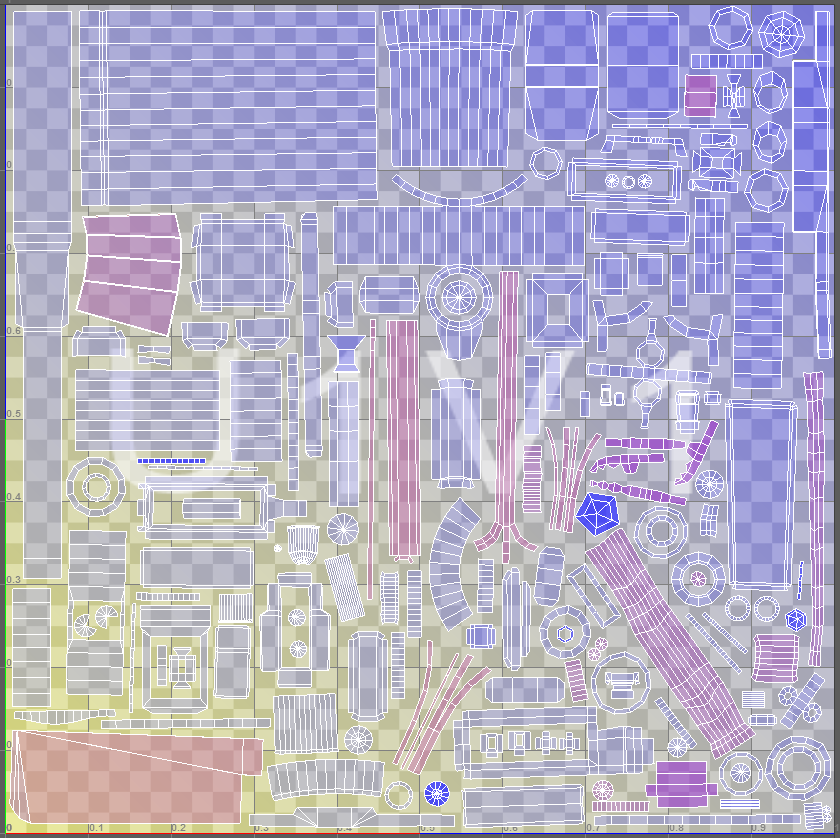
Sure there may be a fair bit to read here but this was the required learning process just to UV my vehicle and gun. With this i decided to put all the main vehicle UVs on a single sheet whilst putting the gun, gun mountings and gun ammo on another, allowing me to swap this out in the future if required.
The great game of tetris to organise these UVs was nowhere near as troublesome as you would expect. I started by scaling all the UVs to a size that i thought would roughly fit due to past experiences and placed the Largest UV pieces in first, followed by the awkward shapes and filling in the gapes with the more generic shaped UVs.
With this finalized on time with my work scheduled, it has left me with a huge portion of time to work on both the texturing and blueprint methodology.


No comments:
Post a Comment