As i already had two baked down, hard-surface vehicles, simply requiring updated textures, it made logical sense to go down the route of a vehicle artist. This would leave me with my base idea to showcase alongside the two previous creations to hopefully make a decent show-reel.
I had multiple ideas from concepting and designing tanks, to planes to even armories and firing ranges. To be entirely honest, with my new found love for substance designer, i would love to create a detailed house environment but I can't just abandon the hard surface modelling skills ive learnt over the past few years.
I have always had a love for Mad Max and with the latest movie release being such a monumental event, i decided to branch very far down this path, creating my very own mad-max vehicle. Starting with wanting to create a new war band, i had to simplify this to a medium sized vehicle. Something more complex than the basic "buggy with spikes" and putting my own twist on things.
The only logical choice was to create mood boards and highlight all the MadMaxy features i would want on my own vehicle.
Fully annotated;
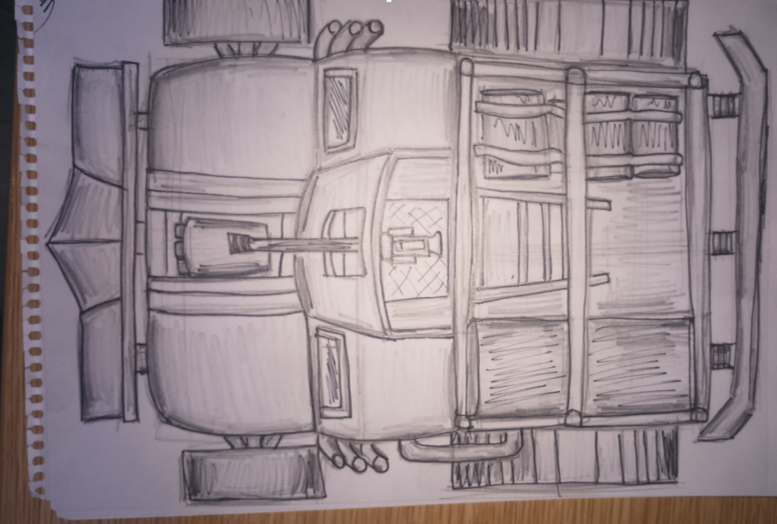
With so many possible ideas, i went back to pen and paper to sketch possible vehicle designs. I found that i could turn a muscle car in to an armoured bunker in the strangest of ways. The body of a 1970 dodge charger, cut in half and position with a 1 meter gap between made for a very large, intimidating build. Bridge this gap with a large air intake, re-enforced metal panels and a miniature WW2 style bunker and you have what is practically an artillery tank on wheels, believable due to the large surface area. With the addition of half-tracks in place of the rear tires and a large front plow, you have what looks like an unstoppable tool of destruction.
Rough Modelling
1. Reference planes
The first stage was to create reference planes for the
vehicle chassis. I chose a 1970 dodge challenger, set up the blueprints
correctly in Photoshop before arranging them within Maya and setting them up on
multiple layers.
2. Rough Modelling
Using the perfectly aligned/ scaled blueprints to my
advantage, I started modelling the blockout shape, starting on the side view
with a small flat plane, extruding out the edges to trace the vehicle’s rough
shape. Throughout this entire process, making sure to keep the topology as
clean as possible to prevent issues later down the line when moving/ scaling
edges in line to the top, front and side blueprint images.


No comments:
Post a Comment